All paint products degrade over time. Prolonging the service life of applied films is therefore one of the main goals of all coaters striving for excellent quality and high customer satisfaction. In this article, we will explore the most common painting defects, their causes, and their possible solutions.
Long-lasting, perfect coatings result from the combination of 3 key elements:
- Expertise and experience
- Precise and accurate process control
- State-of-the-art equipment.
However, even when combining all these factors, it can happen that the results still do not meet the requirements. How is this possible?
The most common painting defects
Coating failures can be caused by several factors that fall into two categories, namely external environment or human error, or a combination of both. Some of the most common defects caused by the external environment are blistering, chalking, corrosion, discolouration, whitening, etc. The most common defects caused by human error include cracking, pinholes, unevenness of gloss and/or colour, orange peel, cissing, dripping, cratering, staining, etc.
In general, there can be various kinds of reasons for these, such as inadequate substrate preparation done with unsuitable products, incorrect timing, incorrect application due to incorrect part-gun distance, insufficient flash-off/drying times, temperature difference among the environment, the paint, and the treated surface, and poor or excessive thicknesses.
Let us see them in detail.
Blistering
In the coating industry, this term indicates the formation of swellings of different sizes and densities due to the presence of moisture, which causes the paint layer to lose adhesion and often detach from the substrate.
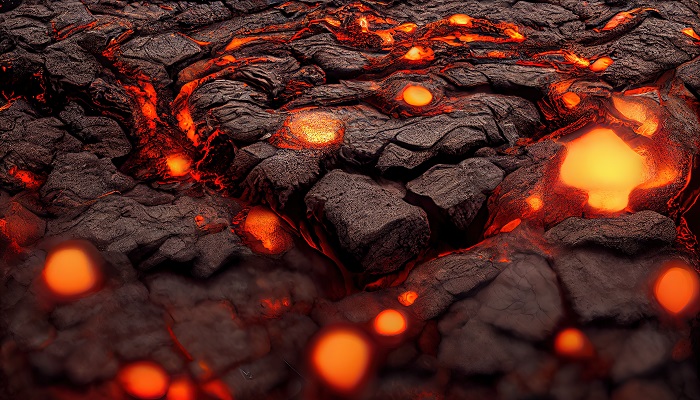 Bubbles and vesicles formed by solidifying lava. © AdobeStock
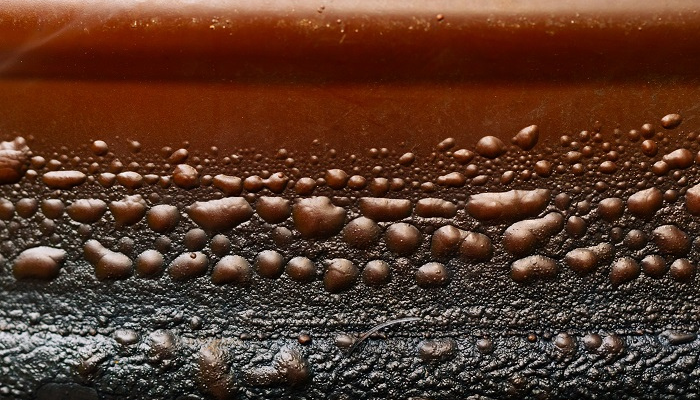 Blistering effect on metal substrate. © AdobeStock
 Possible causes include the permeation of water between the paint film and the substrate or between two layers of paint (due to inadequate surface preparation caused by insufficient rinsing after pre-treatment), poor adhesion among coats, or a paint system unsuitable for withstanding high humidity. As with most of the defects we will discuss, proper substrate preparation combined with suitable environmental conditions is key to avoid the blistering effect.
Orange peel
The treated surface appears uneven and pitted just like the citrus fruit’s peel.
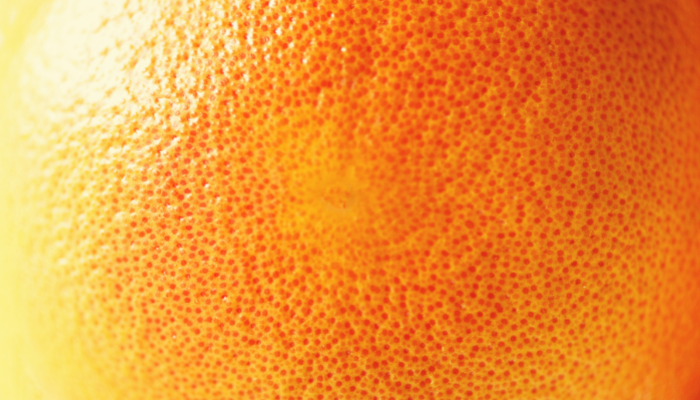 The peel of an orange in detail. © AdobeStock
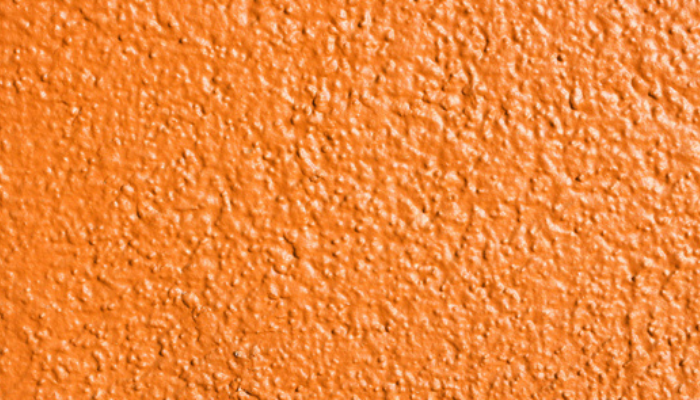 A coating with an orange peel effect. © Tintas TIMICOR
This is one of the most common defects in painting and its possible causes include as follows:
- insufficient dilution or use of the wrong thinner: if it is too fast (room temperature), it reaches the substrate in too dry a state and cannot spread
- incompatible products (primer-top coat) or products that were not mixed well
- excessive workpiece-gun spraying distance or incorrect air/gun adjustment; incorrect application or excessive viscosity; or, as a final hypothesis related to the spraying device, a dirty gun cap
- excessive external temperature
- blow-off with a gun or another tool on the film to promote flash-off
- insufficient flash-off
- excessive or insufficient film thickness.
Possible solutions: pay more attention to the mixing of components (especially metallic ones), control dilution better, comply with the flash-off times of all layers, use the right thinner for each product depending on the season/environment, and optimise gun settings and air pressure. In short, keep an eye on application conditions, viscosity, application techniques and equipment, temperature, and ventilation.
Burn marks
These are burn marks and bubbles of evaporating solvent.
Possible causes include the use of too fast a thinner, too dry a spray jet at high pressure, excessive film thickness, failure to comply with flash-off times among coats and before drying, too close proximity to infrared lamps, or too high temperatures.
This issue can be avoided by choosing the correct thinner, avoiding accelerating flash-off with compressed air, ventilating the oven, and controlling the temperature and distance of the IR lamps. When using clear coats and metallic or pearlescent paints, the temperatures should also be carefully checked.
Dripping
Paint product may accumulate in a localised spot of the coated area if the wrong thinners or hardeners are used, if the surface is not perfectly clean, if the viscosity degree is inadequate, and if the surroundings or the substrate itself are too cold. It can also happen with very heavy application operations, when paint is dripping from the gun, if paint atomisation insufficient, or when the spray pattern is too narrow. Inadequate lighting in the booth can also lead the operator to mismanage the amount of paint, thus ending up overcoating the part.
Possible solutions include carefully checking the thinner and gun’s characteristics and the room/workpiece/paint temperatures, complying with the thicknesses indicated in the supplier’s technical data sheet, and avoiding overcoating edges and corners.
Cracking
Cracks are formed, similar to crazing or crow’s feet or even to a dried-out riverbed.
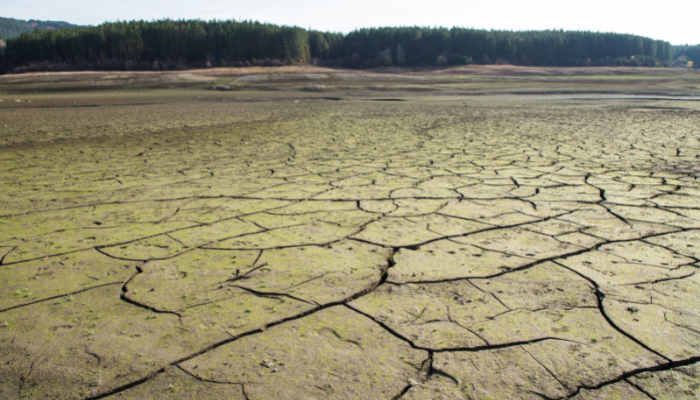 A dried-out water basin bed. © AdobeStock
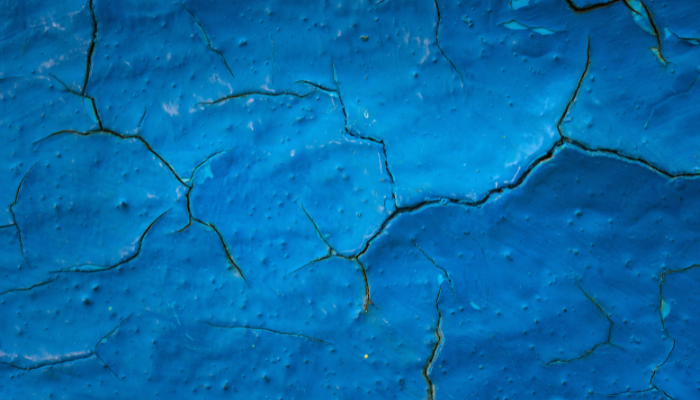 Cracks on a blue coating. © AdobeStock
Possible causes:
- product mixing without additives
- incorrectly prepared, excessive, or wrong additives and/or hardeners
- use of incompatible products
- wet-on-wet application of the various coats without flash-off
- rigid high thicknesses due to an excessive amount of hardeners or to excessive surface tension.
In order to avoid paint cracking, simply prepare the paint with care and mix the products (including hardeners) according to the instructions in their technical data sheets, comply with the recommended flash-off times, and avoid using additives or hardeners other than those specified.
Slow drying
In some cases, top coats and even intermediate coats take too long to harden or be dust-free dry, i.e. dry to the touch. Slow drying may be due to the use of the wrong activators, hardeners, or additives or their wrong quantities, the use of thinners that are too slow, cheap, or uncontrolled, the application of excessive thicknesses, unsuitable environmental conditions, poor ventilation or too much humidity, etc.
This problem can be solved through careful control of the quality and quantity of thinners, additives, or activators, careful application of the right thicknesses, checking ventilation and environmental conditions, and the use of suitable devices to aid drying (oven, heated booth, or lamps).
Pinholes
These are small pinhole-like holes that appear on the painted surface.
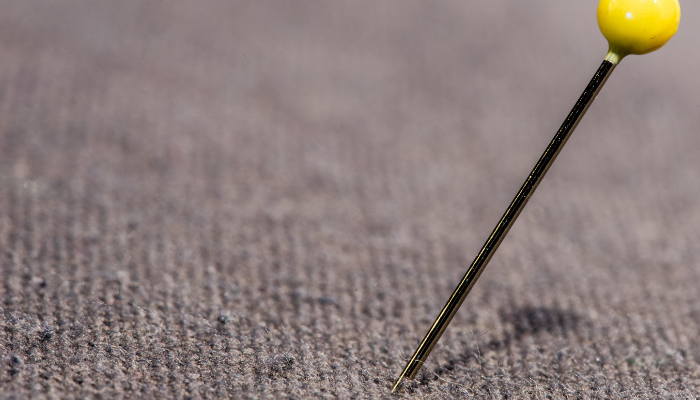 A pinhole in a piece of fabric. © AdobeStock
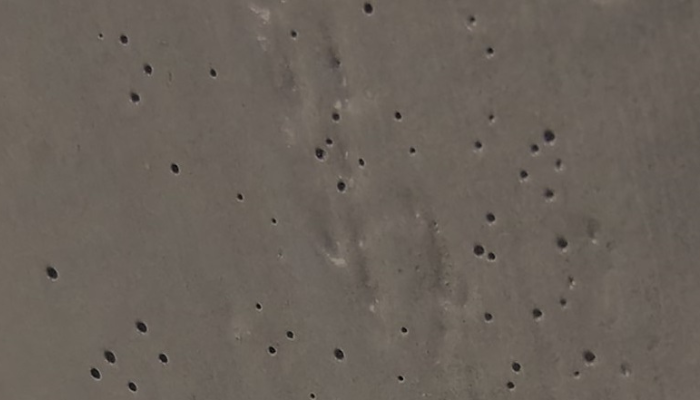 Pinholes on a protective coating. © Kue Group
This defect is more easily found in the application of powder coatings, due to the presence of moisture contained in the powder itself, of substrates that already have porous surfaces, or of castings that release trapped air at high temperatures, or in application operations performed on substrates that are still wet.
Handling paint under optimal temperature conditions, paying attention to the substrate’s characteristics, and carrying out proper drying phases are the main solutions to this problem.
Scratches or failed film distension
Surface scratches below paint are also among the most common coating failures. In the case of metals, these could be due to excessively coarse sanding on the previous coat; too dry a top coat; too low a thickness; a thinner that is too fast and not compatible with the primer or base coat; unsuccessful adhesion of the base coat to the substrate; paint application with the gun too far away (so that the paint reaches the surface when already dry); incorrect viscosity of components; excessively wide spray pattern; too fast spraying movements; coloured layer applied before the primer has adequately hardened; insufficient paint thickness; slow drying; or incorrect paint mixing.
This surface defect can be avoided by carefully adjusting the gun’s spray parameters and adapting the thinner to the season and the product.
Grainy effect and roughness
A grainy, rough, lustreless finish can be due to excessive paint viscosity, the use of an unsuitable thinner, inadequate spraying techniques, a dirty spray gun, high compressed air pressure, excessive workpiece-gun distance, or application carried out in the presence of currents or high velocity air flows. Useful tips to avoid this undesirable effect are as follows: use the correct percentage of the recommended thinner, adopt the correct application techniques, make sure the equipment is clean, set the air pressure as low as possible while maintaining proper atomisation, spray the paint from the correct distance, and check the air extraction and circulation speed.
Yellowing
More common in powder coating, this defect can be caused by the use of powders with poor yellowing resistance, the presence of exhaust gases in the oven, excessive dwell time in the curing oven, too high an oven temperature, or poor resistance to overcuring.
Stains or streaks
Paint colour alteration occurs in the form of shading, bleeding, or bleaching. These are typical defects in metallic and pearlescent paints, sometimes caused by electrostatic application when the aluminium flakes come to the surface. It happens because the paint’s components are not mixed well, the base coat’s flash-off time is insufficient, the thicknesses are too high, the spraying movement does not even out the film well (especially in the case of electrostatic application), application is too wet, or the gun is too close to the workpiece. In the case of streaks revealing sanding, the possible causes also include incorrect electrostatic application and excessive air humidity.
This issue can be prevented by mixing all pigmented elements and especially the metallic ones well, by not applying too wet metallic or pearlescent base coats, by using faster thinners in wet and/or cold conditions, and by selecting the right application and pressure parameters in electrostatic applications.
Contour mapping
This refers to painted areas with a different texture or gloss degree and with clearly defined contour lines due to incorrect primer application and drying. Such a failure occurs in the case of excessively high thicknesses combined with insufficient drying times, the use of a non-specific hardener (too fast or with an inadequate ratio), air drying in high humidity, and the application of the primer over incorrectly insulated original paintwork.
Possible solutions: apply the primer in the thicknesses recommended in the technical data sheet, comply with the flash-off and drying times indicated, carry out oven drying especially in low temperature and/or high humidity conditions, and always check the solvent resistance of the old paintwork and, if necessary, completely seal the surface with specific primers.
Poor coverage
The primer layer can be seen under the top coat one due to poor coverage. It can be caused by incorrect colour mixing, the selection of a non-ideal colour for the previous coat, excessive dilution, or too little thicknesses. To avoid this, it is sufficient to mix the product carefully, choose the appropriate thinner according to the technical data sheet, and more generally comply with the product data sheets.
Cissing
Craters, pits, or “fish eyes” are formed after spraying the top coat or clear coat, revealing the underlying layer.
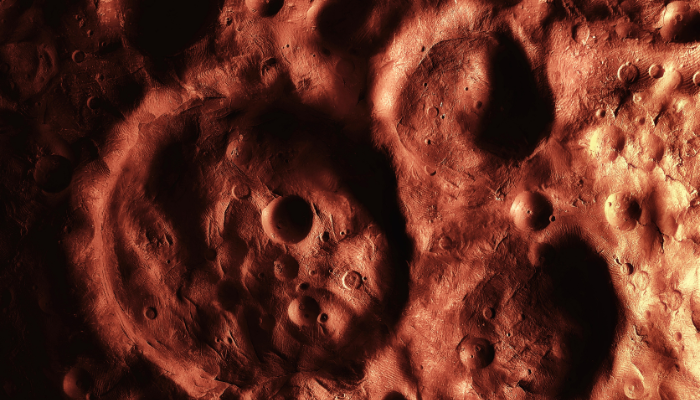 Craters on the surface of Mars. © AdobeStock
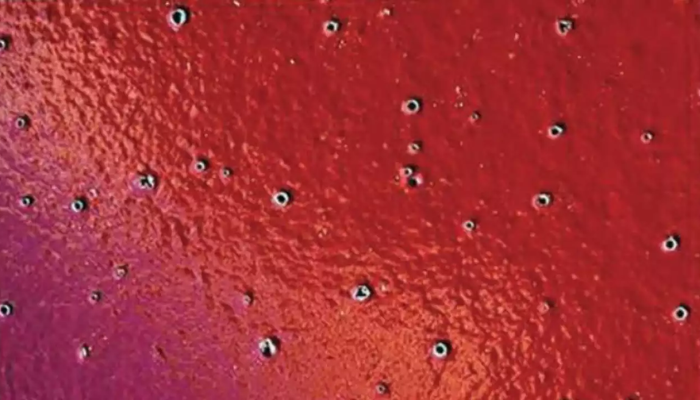 Fish eye craters on a defective surface. © Ultrimax Coatings
This defect could be caused by inadequate cleaning of the substrate, contamination caused by condensation or oil in the gun air, or the presence of dust or silicones in the working environment.
The possible solutions include as follows: carefully remove any silicone residues from the surface to be treated and avoid using silicone near the coating station, or apply two coats of paint with an anti-silicone additive after flash-off, as per the technical data sheet.
Chalking
A whitish, powdery, flour-like layer forms on the coated surface, caused by the decomposition of paint components. This can be due to heat, which results in certain bonds breaking and therefore in the loss of mechanical and chemical properties. Sunlight (UV rays), in particular, causes chalking of epoxy coatings. Such a failure is prevented by using the recommended substances and avoiding direct exposure to sunlight and aggressive detergents.
Peeling
The paint lifts off the layer underneath just as skin does after a sunburn, in the form of flakes that break off easily.
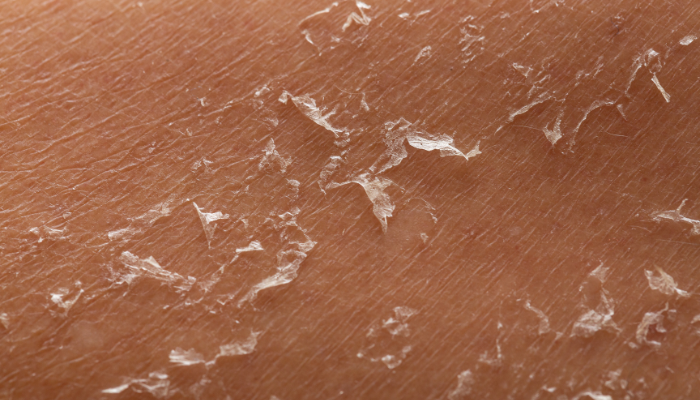 Peeling of the skin after a sunburn. © AdobeStock
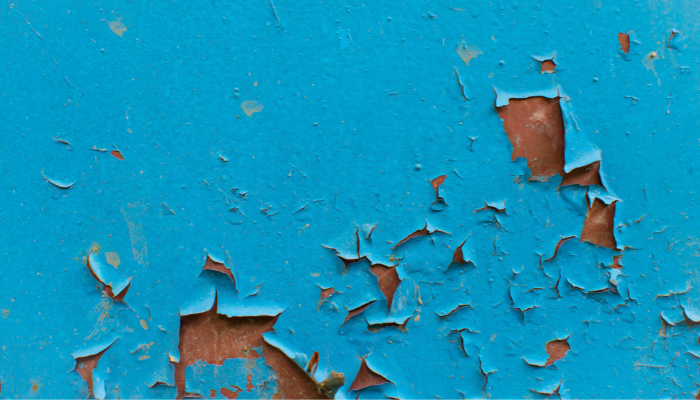 A paint layer peels off and shows the underlying substrate. © AdobeStock
Possible causes include as follows:
- failure to clean, cleaning with unsuitable products, or deposition of dust after cleaning
- too low a temperature at the time of spraying
- dry base coat application
- failure to remove release agents used in moulding
- substrate of a different plastic nature
- moisture in the substrate at the time of application or among coats.
Possible solutions: in 90% of cases, peeling is due to poor surface cleaning or the use of unsuitable cleaning products. When painting plastics, always check the polymer’s properties; when sanding, remove any loose powder; adjust the amount of air and paint in the gun and set the correct distance from the workpiece; check that the product is mixed with the required additives; and verify that the thinner is suitable and not too dry.
Dirt, granules, and specks
The surface is rough and uneven to the touch because of the presence of contaminating particles embedded in the paint. This happens due to dust, dirt, or threads that have fallen from clothing or detached from mouldings and panel joints during spraying and then deposited on fresh paint; dust that has not been adequately removed from the surface prior to spraying; airborne particles that have settled or become embedded in the paint film during or immediately after application; or dirt ingress into the coating or solvent due to the use of paint in open cans.
To prevent this defect, simply make sure the cloths or clothing are clean and free of dust; clean and wipe the surface before application; keep the spray booth free of dust; avoid sanding operations in the vicinity of the coating booth; if necessary, wet the surrounding surfaces and make sure the filter system is working properly; keep all materials in clean, tightly sealed containers and filter them before use.
In the case of powder coatings, this type of defect occurs in the form of lumps and corpuscles and, in addition to a defective metal surface and inadequate substrate preparation, it could be caused by imperfect powder screening or by powder sintering due to heat.
Whitening
A whitish halo forms on the coating, caused by the presence of moisture in the fresh paint film. It is probably caused by unfavourable climatic conditions such as, for example, application on cold, rainy, and humid days, the use of unsuitable thinners, inadequate air pressure, and/or forced drying beyond what is permissible. It can be easily prevented by avoiding application operations in critical climatic conditions (high humidity and/or low temperatures), by using the thinners recommended in the data sheet, by avoiding forcing drying beyond what is indicated in the data sheet, and by ensuring that the environment is suitably air-conditioned (suitable temperature and relative humidity).
Conclusions
Most of the defects described here can be resolved in the post-finishing phase by sanding and grinding. In more serious cases, such as peeling or corrosion, the defect must be eliminated by removing the applied layer of paint, re-preparing the substrate, and applying a new coat (or coats) of paint. Attention to the characteristics of the substrate, compliance with the parameters recommended by paint manufacturers, care in the application of the coatings, and a suitable working environment equipped with the most advanced technology, in general, are the keys to preventing any kind of defect in painting.
To steer clear of coating failures and keep up to date with the latest equipment, system, and product innovations, read our magazines (subscribe here) and check out our courses for certified painters (here).